My favorite things about ArtResin:
-It is Crystal Clear - from the first day, and forever. It’s water based, so no yellowing like an oil-based epoxy.
-IT HAS NO FUMES!!! My studio is in my home, and working with other resin was noticeable. Fumes, headaches, and long-term health problems were a definite concern.
-It is self-healing! Minor scratches are gone in just a few days. Which makes moving my art from festival to festival much less stressful for me, and much less stressful for my collectors once it is up on their walls.
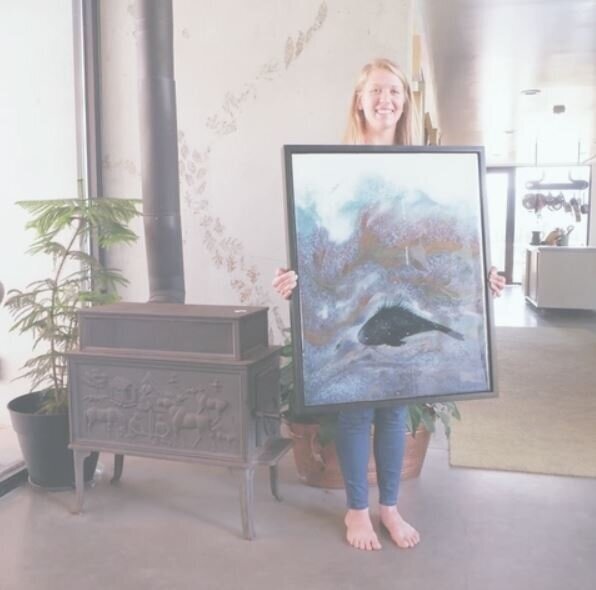
Today, I invite you to see a bit of the process behind my work. I love easy-to-read lists with explanations, so that’s the format we’ll use today.
#1. Panel
I recommend using a wood panel instead of canvas. As resin settles, it naturally finds any low point on the surface, causing canvas to sag in the middle. Often this causes less coverage at the edges. Over time, as canvas moves, it also can create cracks in the resin.
Wood stays stable, allowing for an even surface, smooth top layer, and clean edges. Plus no cracking over time.
I use cradled birch panels from Rex Art, which can be found here:
https://www.rexart.com/canvasmain.html


#2. Tape
I use green painters tape (my favorite is the Frog brand) to line the sides of the work. If you use a deep cradle, put tape towards the back first, and a second layer lining the painting surface second. Slide your finger or a firm, smooth object around the tape to make sure it is sealed well.
#3. Gesso
Because gesso (acrylic ground or primer) isn’t going to be showing, the brand doesn’t matter that much. I use Liquitex basic most of the time.
I recommend using a paint roller for smooth surfaces, which you can find at a hardware store. Because resin is so thick, sanding is not required.
Get a thick layer of gesso around the upper part of your tape, so resin doesn’t seep below onto your sides. It is really frustrating to fix when this happens!


#4. First layer resin
The background of this piece is black. We will mix equal parts resin and hardener, using the ArtResin calculator to find the amount we’ll need.
https://www.artresin.com/pages/calculator
Mix until the “cotton candy strands” are gone, and resin is clear and consistent. Bubbles are normal and fine. You’ll have more bubbles on cold days, and we’ll take care of those at a later stage.
For color, I like to use Golden Fluid Acrylics with ArtResin, or Pebeo Mixed Media paints. Today we’ll use Carbon Black from Golden. Add small amounts until the color is consistent and is still nice when the stir stick is pulled out and examined. 1:10 is often a good rule of thumb, but can still be too much paint depending on viscosity and color strength. Carbon Black is pretty strong. 1:20 ratio is good today.
#5. Pour tinted resin
Today will be one large color. I pour and use gloved hands to spread. I use a Bernzomatic butane torch to release the bubbles, working in quick, systematic rows, and then letting the resin cool a bit before repeating in the opposite direction.
After 5-10 minutes, I go over the resin a final time with the torch, and then leave the room, not returning for 24 hours.
When you can see your entire surroundings reflected perfectly, you’ve done it!!! Making sure the room is warm (74-88 degrees Fahrenheit seems to be ideal in my dry state) helps too.
#6. Check on layer
Check to make sure everything looks the way you want. Fairly even color and surface. If you messed up, it’s ok! the surface doesn’t need to be perfectly smooth because we have one more resin layer to go!


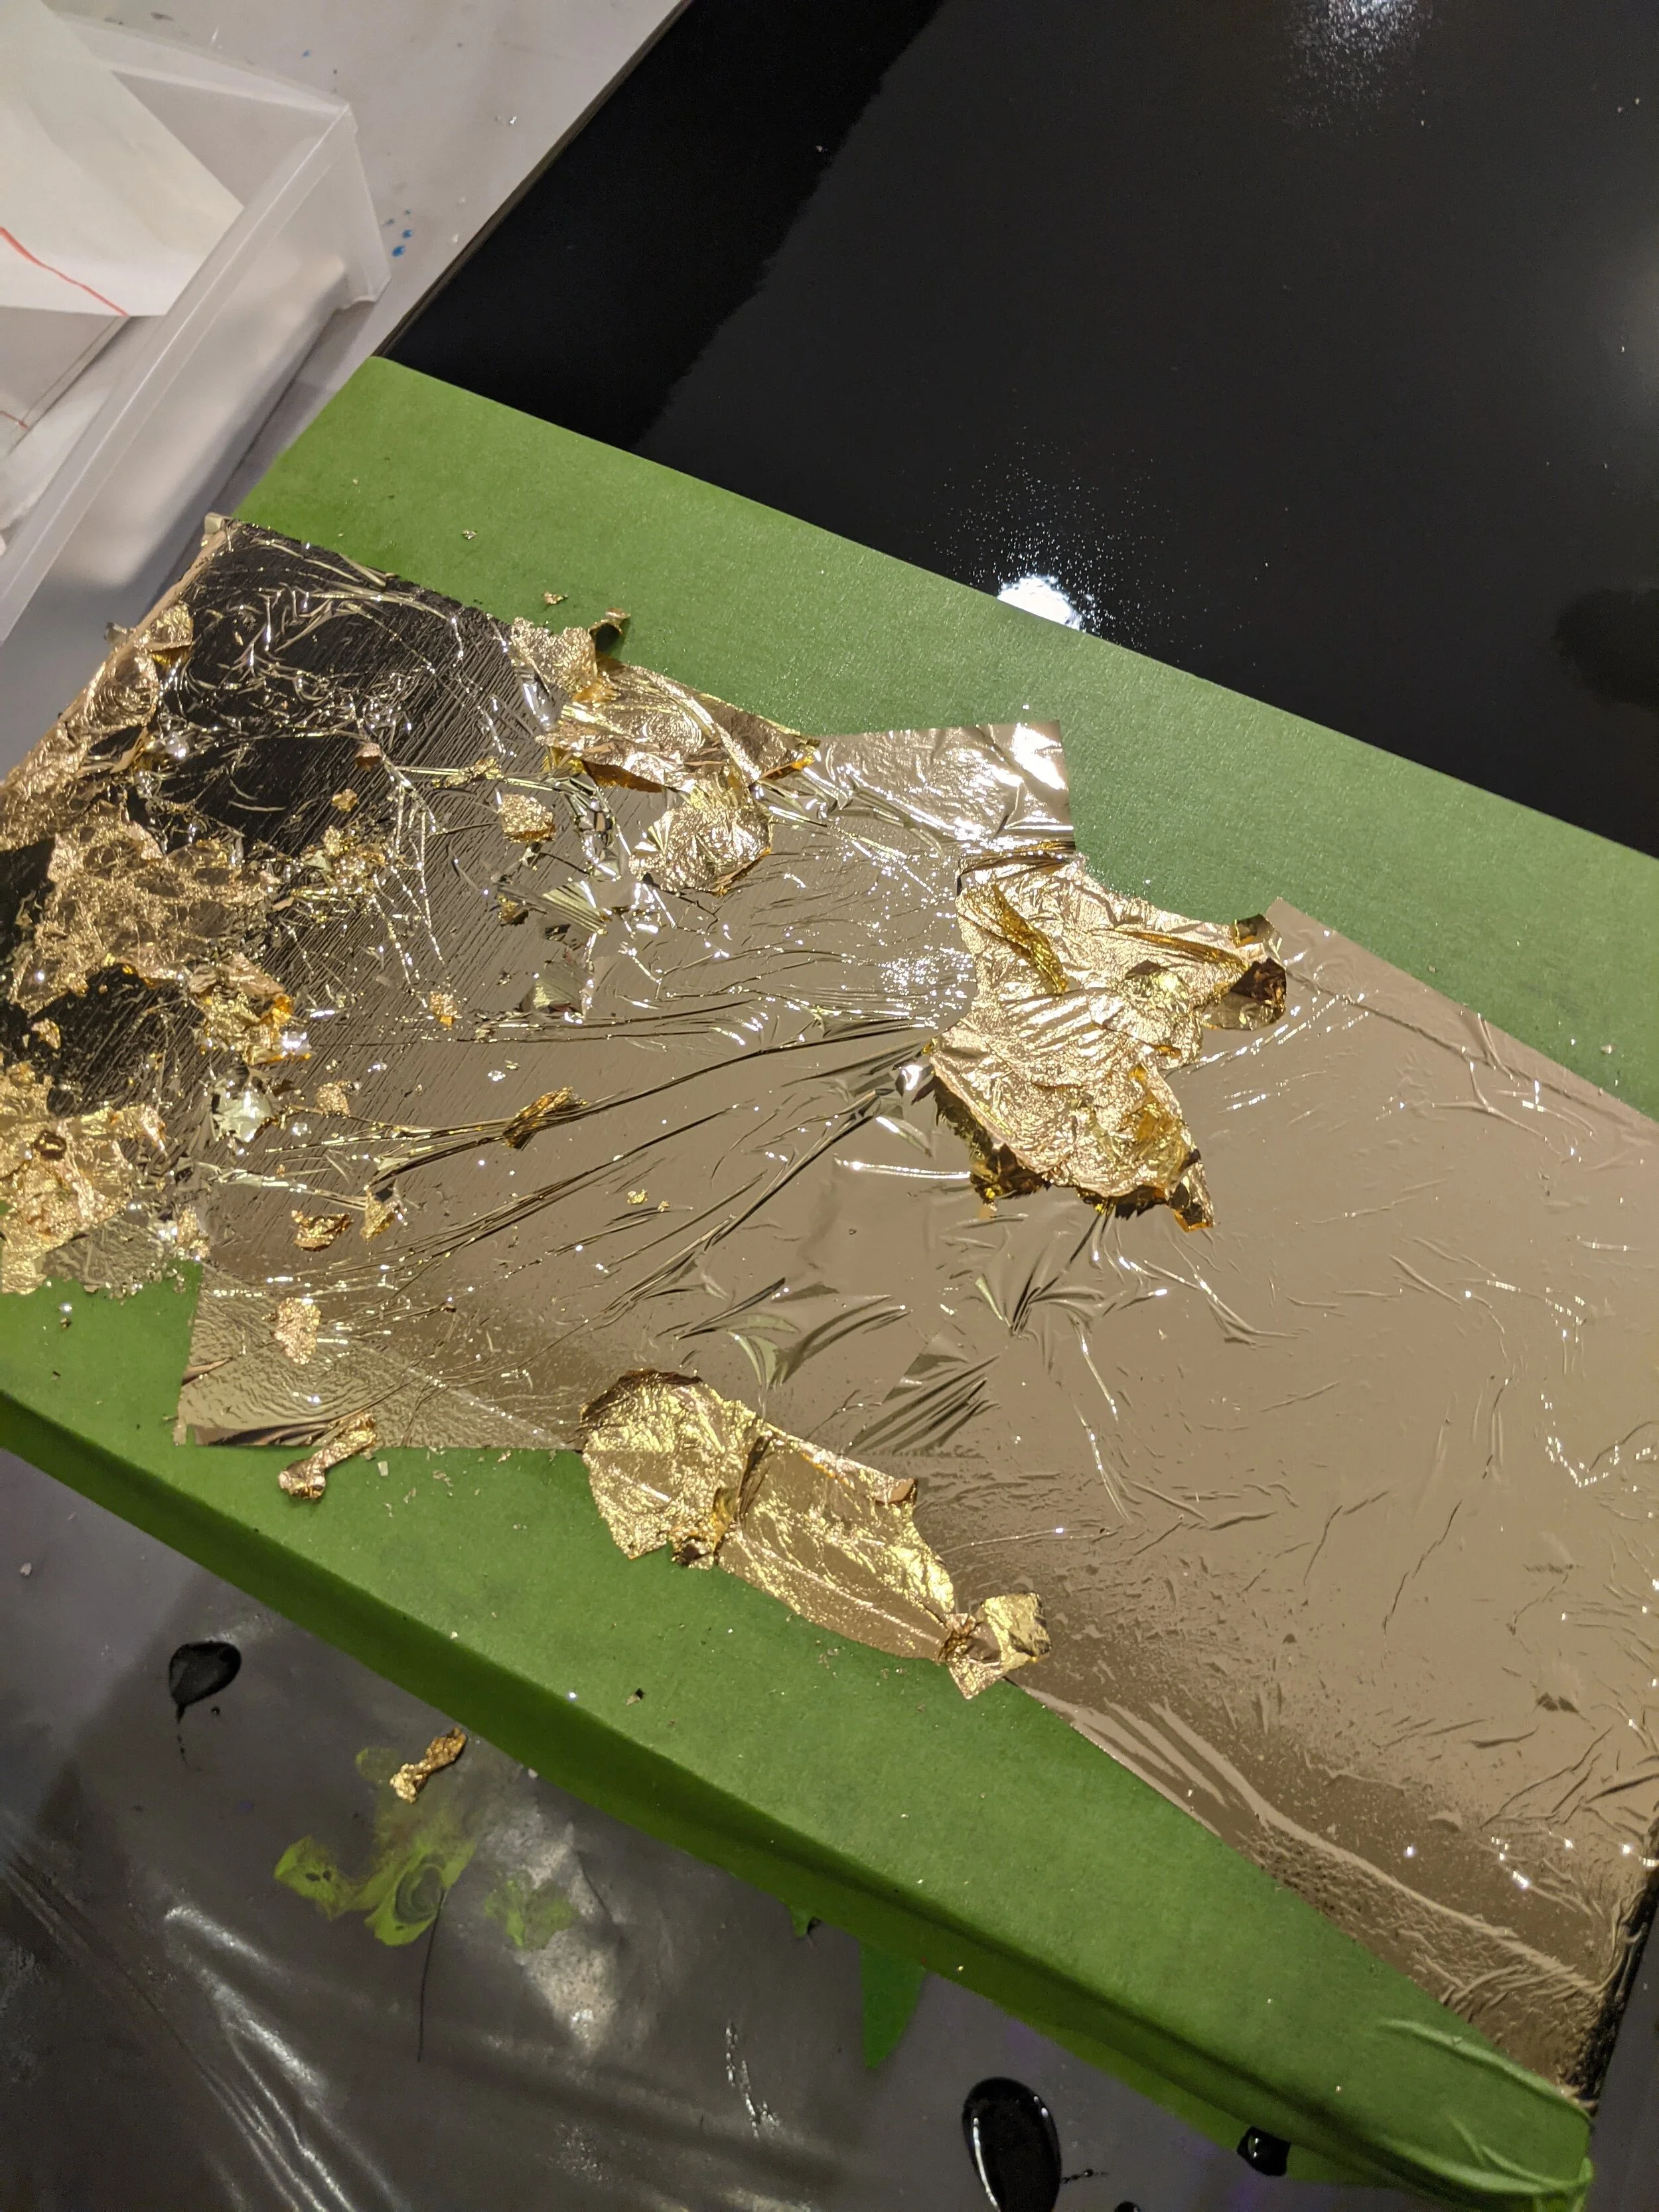


#7. Gold leaf, after 72 hour cure
Again, using frog painter’s tape, block out an area for gold leaf. I use Speedball adhesive, and any metal leaf that catches my eye - Speedball or otherwise. I like to apply multiple brands of leafing, or multiple colors for more visual interest.
#8. Peel tape and blow away dust bits. Use clean tape to remove excess from black if desired. I’m going to allow a few gold flakes here and there.
#9. Final clear coat layer of resin, following the steps above, without the tint.
#10. Cure 48-72 hours


#11. Follow matte directions found here to create an interesting texture shift
https://www.artresin.com/blogs/artresin/how-to-get-a-matte-resin-finish
#12. Sand lip between surface and tape to remove
#13. Paint sides with acrylic, or seal with a clear coat to protect
#14. Hang and enjoy!